A Step-by-step guide
Introduction
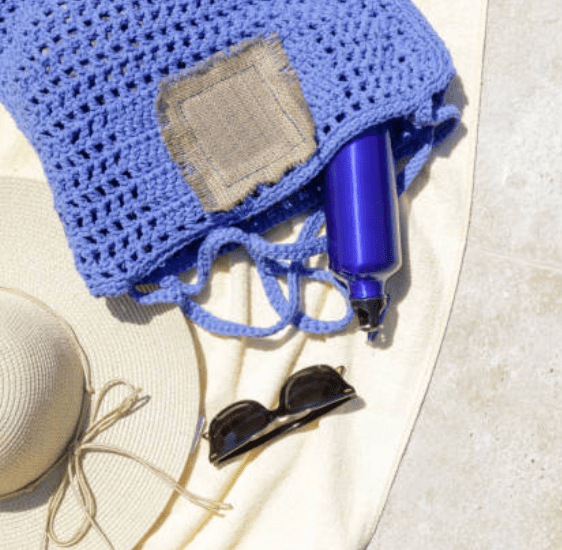
Tote bags are both practical and stylish, serving as the perfect accessory for a variety of occasions. Crocheting your own tote bag gives you the chance to personalize it to your liking. In this step-by-step guide, I’ll walk you through the process of creating your own crochet tote bag from scratch.
Materials Needed
- Worsted weight yarn (about 500 yards)
- Size H (5mm) crochet hook
- Yarn needle
- Scissors
- Stitch markers
Abbreviations
- ch: Chain
- sl st: Slip Stitch
- sc: Single Crochet
- dc: Double Crochet
- st: Stitch
The Pattern
Base of the Tote Bag
- Row 1: Make a foundation chain of 40 stitches.
- Row 2: Starting in the second ch from the hook, sc in each ch across. Turn. (39 sc)
- Rows 3-10: Ch 1, sc in each st across. Turn.
Sides of the Tote Bag
- Row 1: With the base of the bag facing you, ch 1 and work 39 sc along one side, 10 sc along the short edge, 39 sc along the other side, and 10 sc along the other short edge. Sl st to join.
- Rows 2-30: Ch 3 (counts as first dc), dc in each st around. Sl st to join.
Handles
- Row 1: Ch 1, sc in the next 5 st, ch 30 (this forms the first handle), skip 10 st, sc in next 14 st, ch 30 (this forms the second handle), skip 10 st, sc in the remaining st. Sl st to join.
- Row 2: Ch 1, sc in each st and each ch around. Sl st to join.
Finishing Touches
- Cut the yarn, leaving a 6-inch tail.
- Use a yarn needle to weave in all loose ends.
Tips and Tricks
- Feel free to switch colors for a more vibrant look.
- You can also add embellishments like buttons or crochet flowers.
Conclusion
And there you have it! You’ve successfully crocheted a functional and stylish tote bag. Not only is it a great addition to your collection, but it also makes for a thoughtful gift. Happy crocheting!
