A Spooky-Cute Addition to Your Halloween Decor
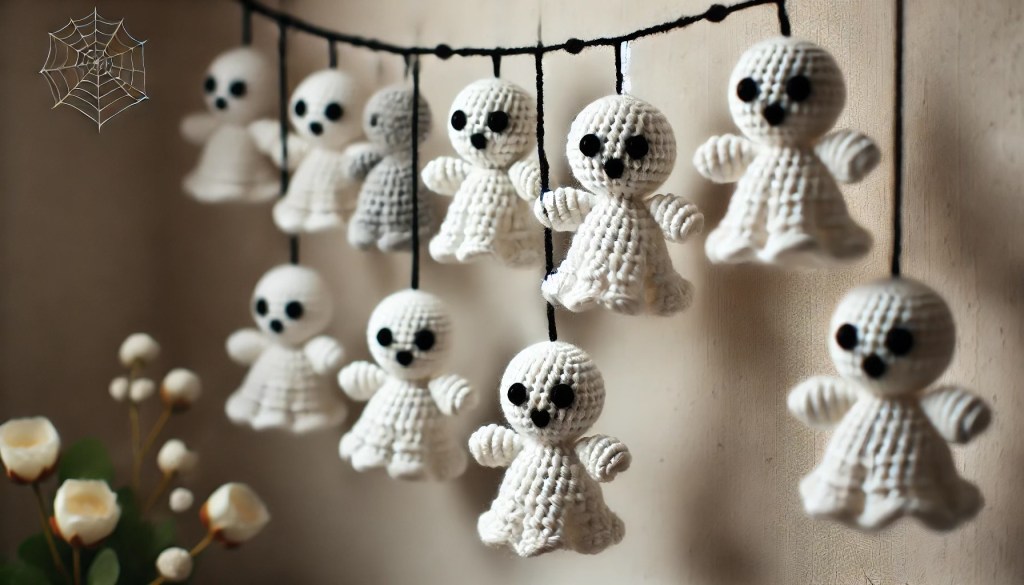
Are you ready to add a touch of spooky charm to your Halloween decorations? This crochet ghost garland is the perfect blend of eerie and adorable, making it a fantastic addition to any space. Best of all, it’s a fun and quick project that even beginners can tackle!
In this tutorial, we’ll guide you through creating your own ghost garland. Let’s dive into the materials, pattern, and some tips to make your spooky setup come to life!
Materials Needed
- Yarn – Soft white yarn (DK or worsted weight works well)
- Crochet Hook – Size H (5 mm) or appropriate size for your yarn choice
- Black Yarn or Felt – For ghost faces
- Yarn Needle – For weaving in ends and attaching eyes and mouth
- Scissors
- String or Twine – To attach your ghosts for the garland
Abbreviations (US Terms)
• ch – Chain
• sc – Single Crochet
• inc – Increase (2 sc in the same stitch)
• dec – Decrease (single crochet two stitches together)
• sl st – Slip Stitch
Instructions
Body:
- Round 1: Start with a magic ring, ch 1, and work 6 sc into the ring. Pull the ring tight. (6 sts)
- Round 2: Inc in each stitch around. (12 sts)
- Round 3: (Sc in next stitch, inc in next stitch) around. (18 sts)
- Round 4: (Sc in next 2 stitches, inc in next stitch) around. (24 sts)
- Rounds 5-10: Sc in each stitch around. (24 sts per round)
This forms the main part of the ghost’s body. Now, we’ll add a decrease to shape the bottom.
- Round 11: (Sc in next 2 stitches, dec in next stitch) around. (18 sts)
- Round 12: (Sc in next stitch, dec in next stitch) around. (12 sts)
Next, we’ll add some frills at the bottom to make the ghost look like it’s floating.
Bottom Frill:
- Round 13: Ch 1, (sl st, 3 sc) in each stitch around to create the frilly edge.
Once finished, fasten off and weave in the ends. Now it’s time to add the face!
Adding the Face
- Eyes and Mouth: Use black yarn or felt to create two small eyes and a spooky smile. Sew or glue these onto the ghost’s face.
- If using yarn for the eyes and mouth, a simple French knot or a small stitched oval will work perfectly for the eyes.
Assembly for Garland
Once you have your little ghosties ready, it’s time to turn them into a garland:
- Stringing: Take a piece of twine or string that’s as long as you’d like your garland to be.
- Attaching Ghosts: Use your yarn needle to thread the top of each ghost onto the twine, spacing them out evenly.
- Final Touches: Hang your ghost garland up, draping it over a mantle, wall, or doorway for a charming Halloween touch.
Tips and Tricks
- Customize the Size: Use a smaller hook and thinner yarn for mini ghosts or a larger hook and chunky yarn for a supersized garland.
- Add Colors: For a fun twist, add pastel or neon colors to your ghosts.
- Googly Eyes: If you prefer a more playful look, try using googly eyes or felt pieces for the face.
And there you have it—a delightfully spooky crochet ghost garland to welcome Halloween! This project is a great way to add a handmade touch to your decorations, and it’s so simple you might find yourself making multiple garlands for friends and family. Happy crocheting!
